Simple Twitter - Chapter 1: Setup
This is the start of a series of posts to build Twitter like website. But why did I even want to do that? Because I saw a gap in software engineering blog universe about bring software to production level. Nobody explain what we need to do it and didn't do it with the reader, together, while keep it as simple and stupid as one can so even the most junior software engineer can understand why and how to get his next project to production.
So this is what I'm planning to do here. To get you from the basic to production. This will not be an easy journey, or even short one. But I can promise you one thing, you'll learn a lot!
Disclaimer: I'm not going to teach you web development, but I'm going to start from the very basic. So you need to know HTML, CSS and JavaScript up front. But that's pretty much it.
The first things we're going to do is the most basic, install the things we need to develop our website on our computer.
1. Git Setup
I think the most important software for development is git. We gonna use git for version control from day one, and we'll host our code on GitHub - because it's free for open source repositories and it's where everyone is at right now.
While I'm using Mac and I'll show how to install everything on a Mac, it should be pretty easy to install everything in this series on Linux and Windows too. Everyone of the tools we'll use is well known and should be plenty of resources and help on the internet.
1.1. Install git
I recommend to use a package manager to install everything on your machine, on mac it's brew. Once you have brew installed on your machine all you need to do to install git is:
brew install git
That's it, now if you'll write git on your command line of choice you'll get as an output all the git commands you can use.

1.2. Open a GitHub account
GitHub is a web based git with some extra features. We don't need to install anything to use GitHub, just open an account and configure some stuff. So let's do it! Let's go to https://github.com and pick a username, email, and password and click on the big green button says Sign up for GitHub.

After you sign up you'll need to confirm your account, so check your email. Now we need to config our local git with our email and username. We can do it by typing those command:
git config --global user.name "Nir Galon"
git config --global user.email nir@galon.io
That's it for now. Once we'll have some code, we'll open a new repository, commit the code to GitHub and talk about issues and pull requests.
1.3. Atom
My code editor of choice is Atom. But you have plenty of choice and everyone love something else. Most of them are pretty much the same and we're not going to use any specific features to any code editor, so choose what ever you like.
To install Atom with brew we need to add cask, cask extends brew (Homebrew) and let us install macOS applications with brew. So let's add cask:
brew update
brew tap caskroom/cask
And now we can install Atom
brew cask install atom
2. Database Setup
Our Database of choice will be MongoDB. MongoDB is a NoSQL database which only means it's not a SQL one, but if it's not SQL what it is? It's a document-oriented database, it uses JSON-like documents with schema to store data. What it's actually means is that everything in our database is JSON valid and we use a key=value schema for it.
MongoDB has it's advantages and disadvantages, but for our use case it fits the bill. When you go to choose a database for a new project you need to choose the best database for the job in hand, and not force the database you love and know on the project. You may (even most likely) need to use couple of databases and everyone of them will do something else with the same or different data. But this is a topic for another post.
2.1. MongoDB
To install MongoDB we'll head over to the MongoDB documentation and go through the instructions. First we'll add their tap to brew, then we'll install the mongodb community edition, and finally start the database through brew services.
brew tap mongodb/brew
brew install mongodb-community
brew services start mongodb-community
Now we have MongoDB installed and running on our local machine. But how can we see and run stuff?
2.2. Robo 3T
Robo 3T is a free and open-source cross-platform MongoDB GUI. With it we can see our databases, collections and even documents in a nice and easy way with a GUI (Graphical User Interface). Let's continue to install things with the same convenient way, with brew. This is a GUI software so it will no be on brew, but we already have the cask extension for brew, so let's search it there: https://formulae.brew.sh.

Success! so let's install it with brew cask
brew cask install robo-3t
3. Backend Setup
To build our backend we'll use Typescript. TypeScript is an open source programming language developed and maintained by Microsoft. It is a superset of JavaScript that adds a few things to the language and transcompiles to JavaScript. To write Javascript in the backend (not in the browser) we'll use Node.js runtime environment.
3.1. Node.js
I want to believe you already understand how useful is a package manager by now, but if you haven't let's use it again and install Node.js.
brew install node
3.2. NPM
When you installed Node.js something else was installed on your machine in the same time, it's NPM. NPM is a Package Manager for the JavaScript programming language and is the default package manager for the JavaScript runtime environment Node.js. We'll use it exclusively to download new packages for our Backend as well as for our Frontend project.
3.3 API Client
When we'll build our backend we'll want to make requests to it and tests our code from time to time (this is not to write tests, it's to test our code while developing). We can do it in multiple ways, but the easiest one is with an API client. It let you quickly and easily send REST requests against your API.
Insomnia is one of the most popular ones out there, it's free and has a lot more features, so let's install it
brew cask install insomnia
4. Frontend Setup
To build our Frontend we'll use Vue.js. Vue is a JavaScript framework for building user interfaces. Okay, this is a lot of words, we know what is a web application (a user interface and logic that runs in a web browser), but what is a framework?
A framework is an abstraction layer that may include support programs, compilers, code libraries, tool sets, and more. it's aim to facilitate software developments by allowing us to devote our time to meeting software requirements rather than dealing with the more standard low-level details of providing a working system.
4.1 The official Vue scaffolding tool
create-vue is the official Vue.js project scaffolding tool. It'll present to you some prompts for a number of optional features such as TypeScript and testing support, and will help us create a new project with everyting already configured.
it help us create a new project and components in the way. It saves us time and guide us in the "right" direction.
npm init vue@latest
example output:
✔ Project name: … <your-project-name>
✔ Add TypeScript? … No / Yes
✔ Add JSX Support? … No / Yes
✔ Add Vue Router for Single Page Application development? … No / Yes
✔ Add Pinia for state management? … No / Yes
✔ Add Vitest for Unit testing? … No / Yes
✔ Add Cypress for both Unit and End-to-End testing? … No / Yes
✔ Add ESLint for code quality? … No / Yes
✔ Add Prettier for code formatting? … No / Yes

Scaffolding project in ./<your-project-name>...
Done.
5. Cloud / Devops Setup
When it'll be time to upload our project to the cloud (it'll be sooner then you might think), we'll use couple of tools to connect to our cloud provider and setup our infrastructure. The first will be gcloud because we'll use GCP as our cloud provider (we'll talk about it more in the next chapter), the second will be Docker because we'll use Docker as part of our infrastructure to build isolated images and we'll run them on Cloud Run.
5.1 Google Cloud
To use GCP (Google Cloud Platform) from the command line we need to install gcloud which is the primary CLI tool to create and manage Google Cloud resources.
To install it, we just use brew cask command. This is a cli tool, so it probably should be just brew, but brew doesn't have a formulae for gcloud (don't ask me why, but I'm sure the internet has an answer for that somewhere), so lucky for us, cask has us cover.
brew cask install google-cloud-sdk
5.2 Docker
Docker is a set of platform as a service products that use OS-level virtualization to deliver software in packages called containers. This is a lot of buzz words, I know. But Docker is worth it. We'll use it to build and deploy our backend on top of GCP (Cloud Run service). And to interact with it we need it's CLI (do you see a pattern here yet?), and we can install it like any other CLI tool, with brew.
brew install --cask docker
6. Summary
To recap, we installed everything we need to start developing our web application / website. We have a GitHub account, a text editor, a database and a GUI to check what is going on inside it, our software for backend and client development (including a software to help us debug our backend API), and even the tools we need to deploy our software to the cloud.
In the next chapter we'll start planning our Twitter website and the architecture of it. I'm sure you are excited as me right now, and I hope to meet you on the comment section.
📖 You might also like
Change your email in GitHub

Once in a lifetime a man changes his email address. Maybe you didn't changed your email even once, I completely understand you, but I did. And let me tell you - it's not an easy process!
A Practical Guide to Design System
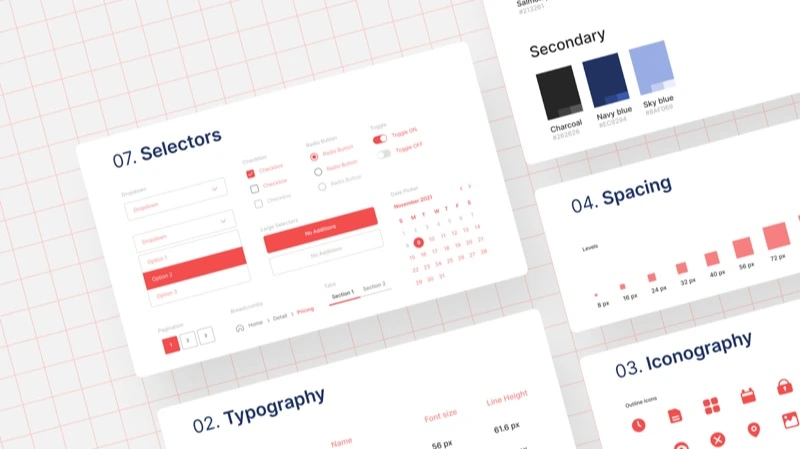
It's no secret that design systems are taking over the web development world and that's a good thing IMO. But non the less, it's still a challenge to setup one. I myself encounter it when I created our own design system in the startup I work for, so